Electrical Systems & Specifications
Lighting and Lighting Controls Under Division 26
Understand luminaires, drivers, control zones and emergency lighting, with practical checks for a complete Division 26 lighting estimate.
11 min read
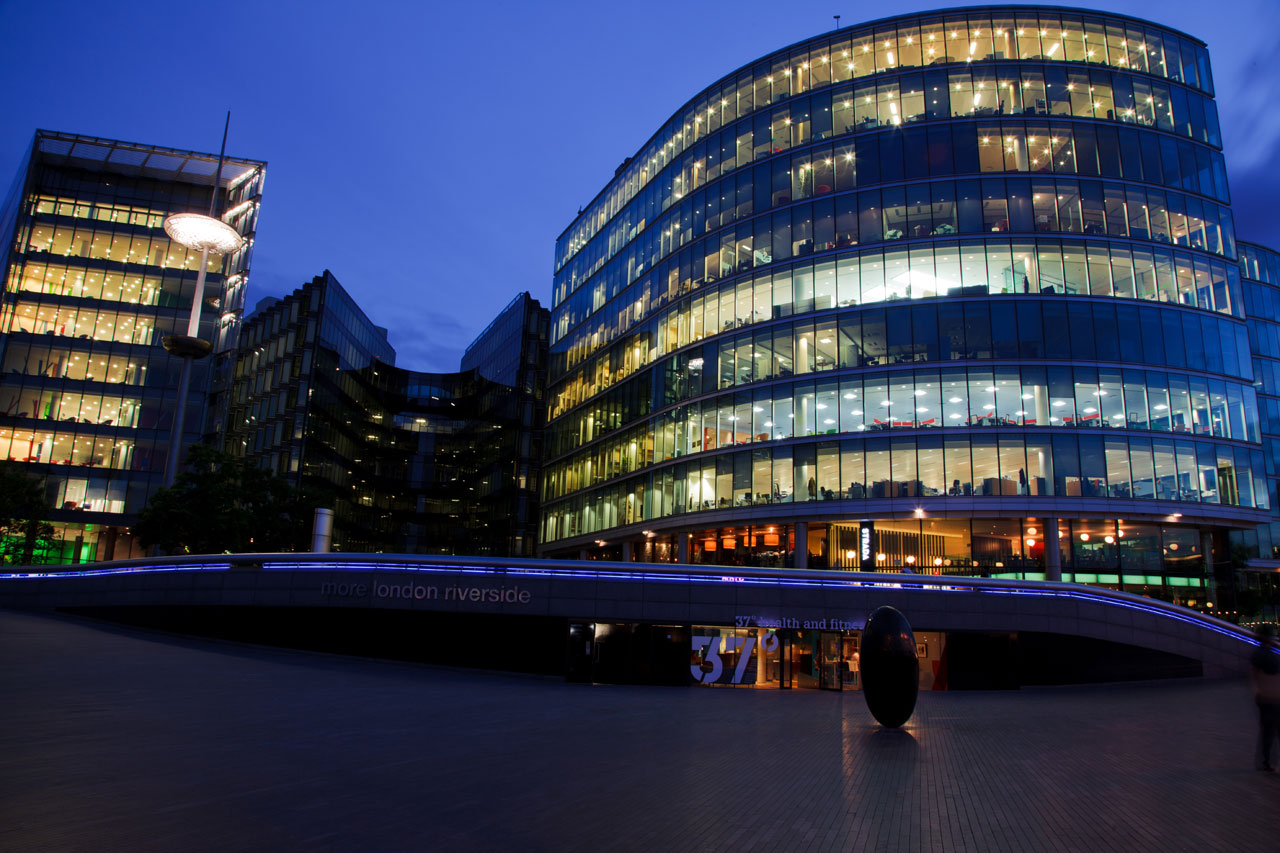
Office lighting at dusk. Photograph: Petr Kratochvil / Public Domain Pictures, CC0. Illustrative photo; not a design or energy-performance case study.
Two rooms can have the same number of light fittings and very different installation costs. One may need a wall switch. The other may need dimmable drivers, occupancy and daylight sensors, separate control zones and a programmed connection to a building-wide system.
A fixture count does not explain how the lighting must work. For an electrical estimator, the task is to connect the luminaire schedule, reflected ceiling plans, circuiting and control requirements into one complete scope.
Division 26 includes lighting and its electrical controls. NRC’s National Master Specification (NMS) lists lighting, network lighting controls, emergency lighting and exit-sign subjects in this division. [1] This article explains the main parts and the questions to resolve before pricing them. The project’s specifications, drawings, schedules and tender instructions establish the actual work.
1. Separate the light fitting from the control system
Three terms make the documents easier to read:
- Luminaire: the complete light fitting, including its light source and the associated housing, optics and other components appropriate to the product. A luminaire schedule may also call it a fixture.
- LED driver: the equipment that supplies the electrical output needed by the LED light source. Its characteristics affect which controls can operate the fitting as intended.
- Lighting controls: switches, sensors, controllers and other equipment that determine when the lights operate and, where specified, their output level.
The driver may be inside the luminaire or installed separately. Check the specified arrangement and what is included in the supplier’s price. A separate driver needs a suitable location, access and the specified connections.
Do not assume that “LED” means “dimmable,” or that two dimmable products will work with the same control. The University of Toronto’s lighting standard requires coordination between luminaire, driver and control manufacturers to establish compatibility. [2] That is an owner-specific requirement, and a useful scope-checking example rather than a universal product specification.
2. Read the luminaire schedule beyond the quantity
Identify the purpose of each fitting: general room lighting, lighting for a specific task, architectural or accent lighting, or exterior lighting. For each fixture type, match the drawing symbol to the complete schedule entry. Check the model and options, dimensions, mounting, supply requirements, light output, driver and control requirements, finish, environmental rating and accessories.
Pay particular attention to the difference between these terms:
| Term | What it tells you | Estimating check |
|---|---|---|
| Input power, in watts | The electrical power the product uses. | Confirm the specified product’s input data; do not use a wattage label as a substitute for its light output. |
| Light output, in lumens | The quantity of light emitted. | Match the required lamp or luminaire output, and compare like-for-like product data. |
| Correlated colour temperature, in kelvins | The warmer or cooler appearance of the light. | Carry the specified option rather than assuming one colour temperature suits every room. |
| Mounting arrangement | How the fitting is supported and positioned. | Include the correct trim, brackets, suspension, stems or other specified mounting components. |
| Driver and dimming option | How the light source is powered and controlled. | Confirm that the quoted option matches the control design and required operating range. |
Natural Resources Canada distinguishes light output in lumens from electrical power in watts, and explains the colour-temperature scale. [3] These quantities describe different characteristics. Matching only the wattage does not establish that a proposed substitute meets the specification.
Check the ceiling and access conditions as well. Recessed, surface-mounted, suspended and high-mounted fittings can require different materials and installation effort. Identify the work needed at ceilings, supports and access points, and which trade carries it.
For exterior lighting, check the luminaires and their supports together. Depending on the design and contract allocation, poles, brackets, foundations, underground feeds, weather-exposed connections and access equipment can add work beyond the fitting price. Identify who carries each item and which fittings are controlled together.
3. Understand the control functions
A control symbol is easier to price when you know the intended operation. Read the written sequence of operation: the description of what the lights must do in response to a switch, sensor, schedule or other signal.
| Control function | What it does | What to clarify |
|---|---|---|
| Manual switching | A person turns a lighting group on or off. | Which fittings operate together, and where are the control points? |
| Dimming | Adjusts light output over the supported range. | Which driver/control combination is required, and how low must it dim? |
| Occupancy-based control | Uses detection of people or activity to change lighting operation. | Is turn-on automatic or manual? What happens when the space is unoccupied? |
| Daylight-responsive control | Adjusts electric lighting in response to available daylight. | Which fittings respond together, where are sensors located, and who adjusts the settings? |
| Time scheduling | Changes operation according to a programmed schedule. | What schedules, holidays and local overrides must be configured? |
| Networked control | Connects control devices and lighting groups for coordinated operation. | Which controllers, gateways, connections, software and setup services are included? |
BC Hydro identifies dimming, occupancy sensing, daylight response, scheduling and flexible control zones among the functions available in advanced lighting-control systems. [4] The required combination still comes from the design. Not every occupancy-based system turns the lights on automatically, and not every unoccupied space is intended to become completely dark.
Do not turn an energy-saving feature into an assumed saving percentage. Its benefit depends on the equipment, settings, occupancy and operating conditions.
4. Price the control arrangement and connections
Find out how the specified devices communicate and which equipment switches or dims the load. A local switching installation differs from a system with room controllers, control panels, gateways or a central workstation.
Check the specified control method. For example, the documents may call for 0–10 V dimming or a digital control system such as DALI, the Digital Addressable Lighting Interface. A matching label is only part of the check: confirm the selected equipment, wiring requirements and intended operation with the supplier. NRC’s NMS descriptions recognise network controls, while the University of Toronto standard separately addresses control configurations and compatibility. [1][2]
Resolve who supplies and installs:
- Branch-circuit wiring, boxes, pathways and connections to the luminaires.
- The specified control wiring, communication links and termination components.
- Switches, sensors, room controllers, relays, control panels and their required power supplies.
- Gateways, network connections, software licences and any owner-IT coordination.
- Addressing, device grouping, programming, testing and completion records.
Wireless communication does not establish that an installation has no wiring. Check the power arrangements for each device and what wiring, gateways or setup the selected system still needs.
Keep lighting control zones separate from circuit counts. A control zone is a group of lights operated together for a particular function. Identify those groups from the design rather than assuming one circuit equals one zone or one controller.
5. Review emergency lighting and exit signs separately
Normal lighting supports everyday activities. Emergency lighting provides the required illumination when the normal supply fails. Exit signs identify the exit route; counting a sign does not establish that the route has the required emergency illumination.
WorkSafeBC’s emergency-lighting guidance discusses dependable illumination during loss of primary lighting and points to requirements for supply, illumination and duration. [5] Its regulatory context is British Columbia. It is not a Canada-wide design rule.
For the estimate, identify the specified emergency source and distribution arrangement. The design may use unit equipment, a central system or other specified emergency-power provisions. Establish which luminaires serve an emergency function and how they are supplied and controlled.
Check the required batteries or other power equipment, charging and monitoring provisions where applicable, connections, identification and testing. For exit signs, check the legend, directional indicators, viewing arrangement, mounting and supply shown in the documents.
Confirm how energy controls interact with emergency operation. Do not assume that a normal-lighting dimmer, relay or sensor can be used unchanged in the emergency arrangement. Price the approved sequence and the equipment needed to achieve it.
This article does not prescribe illumination levels, operating duration, equipment capacity or a wiring arrangement. Those requirements need to be established for the actual building and jurisdiction.
6. Confirm the applicable requirements
Energy requirements can influence control functions as well as installed lighting power. As an example, Part 4 of the National Energy Code of Canada for Buildings 2020 addresses lighting, including interior controls and daylight-responsive functions. [6]
That reference is a model-code example, not a statement that the 2020 edition governs every project. The code’s preface explains that provincial and territorial adoption can involve local modifications. Confirm the applicable edition, amendments, compliance approach and project requirements with the responsible designer.
Owner standards may add requirements too. Keep those instructions distinct from general code provisions and from optional product features.
Lighting quality also matters. The Canadian Centre for Occupational Health and Safety notes that workplace daylight should not create glare or excessive brightness. [7] A cheaper fitting or control substitution should therefore be reviewed against the specified lighting performance and intended use of the space, not accepted solely because its input wattage is similar.
7. Include setup, testing and handover
An installed sensor and an energised luminaire do not prove that the control sequence works. Include the specified work to configure the system and demonstrate its operation.
Establish who will:
- Identify devices and assign them to the correct rooms and zones.
- Program schedules, scenes and permitted overrides.
- Adjust sensor settings and daylight response, and confirm the specified dimming behaviour.
- Test normal and emergency operation as required by the design and contract.
- Provide configuration records, operating information, as-built drawings, training and any required return visits.
The University of Toronto’s standard specifically calls for checks of sensor placement and adjustment, daylight response and programmed dimming. [2] These are useful examples of completion work that can be absent from a luminaire-only quotation.
Illustrative example: an office fit-out has 30 luminaires. The design identifies 12 near the windows for separate daylight response and 18 in the interior group. A supplier offers all 30 fittings with compatible dimmable drivers, but excludes sensors, controllers, control wiring and programming.
The fitting quantity reconciles: 12 + 18 = 30. The system price is still incomplete. Measure and price the required controls, connections and setup from the design, or confirm where another quotation includes them. The two groups do not, by themselves, determine the number of sensors, circuits or controllers.
If a zone boundary, connection or responsibility is unclear, raise a clarification and record the authorised estimating decision before finalising the price. Do not invent a control design to fill the gap.
8. Price the complete lighting installation
A complete lighting estimate connects the fitting schedule to the mounting, power, controls and required operation. It also accounts for emergency arrangements, configuration, testing and handover.
Before carrying a lighting quotation into the bid, ask: does it cover the complete specified installation, or only the fittings that will arrive on site?
References
Sources checked 27 October 2026. This article provides educational estimating guidance, not a lighting design or a project-specific code determination.
- National Research Council Canada, NMS documents’ descriptions, lighting, network lighting controls, emergency lighting and exit-sign entries. Public descriptions only; full restricted specification sections were not accessed.
- University of Toronto Facilities & Services, Lighting and Lighting Controls Design Standard, Revision 01, dated 13 February 2024 in the document. An owner-specific example, not a national specification; its numerical limits and preferred products are not adopted here.
- Natural Resources Canada, Lighting — infographic, brightness, power and colour-temperature explanation. Used for those basic distinctions only, not its savings or market statistics.
- BC Hydro, Lighting systems, advanced lighting-control functions. General utility guidance; no savings percentage is promised here.
- WorkSafeBC, OHS Guidelines Part 4 — G4.69 Emergency lighting, British Columbia guidance. Confirm the current applicable building, fire and electrical requirements for the actual project.
- National Research Council Canada, National Energy Code of Canada for Buildings 2020, first printing, preface and Division B, Part 4. Used as an identified model-code example, not the latest edition or a universal statement of adoption.
- Canadian Centre for Occupational Health and Safety, Lighting Ergonomics — General, daylight and glare considerations. General workplace guidance, not a project illumination schedule.
General estimating workflow guidance. Project requirements and contractual documents take precedence; this is not electrical design or code-compliance advice.